Ultimate Guide to Multi-Cloud Integration
The ultimate guide gives you the easiest way for multi-cloud integration. You can look through it and learn more about it.
About Multi-Cloud Integration
Nowadays, there are plenty of cloud computing services on the market. From time to time, users use more than one cloud computing service to meet their different needs, which is called multi-cloud.
Multi-cloud services bring much convenience, but also bring some inconvenience, such as you need to log in several times on different platforms to access the information you need. The development of multi-cloud integration and multi-cloud connectivity have solved users’ problems. Multicloud integration means that you can manage data from multi-cloud services in one interface with one login.
Advantages of Multi-Cloud Integration
So what specific benefits do multi-cloud integration give users? To sum up, if you use a multi-cloud integration architecture, it will help you get a better user experience in the following aspects:
☛ Manage multiple clouds with one login: Using multi-cloud integration allows you to manage all your selected cloud services with only one login, eliminating the need to switch between interfaces.
☛ Gain larger cloud storage space: Run multi-cloud integration means integrating the storage space in your multi-cloud services as well. With multi-cloud integration, you can enjoy a larger cloud storage space.
☛ Protect your data security: Often, multi-cloud integration tools work based on encryption during the data transferring, which will protect your data on the cloud.
The Easiest Way for Multi-Cloud Integration
The mainstream cloud services in the market include Google Drive, Dropbox, OneDrive, etc. If you are using these cloud services, CBackup is a suitable multi-cloud integration tool for you.
With the combined cloud storage feature provided by CBackup, you can get multi-cloud integration by merging two or more cloud service accounts for free. Then it’s possible for you to manage data of multi-cloud services with one login.
Let’s see how to run multi-cloud integration via CBackup with easy steps:
1. First, download CBackup on your computer, sign up for a new account and log into it.
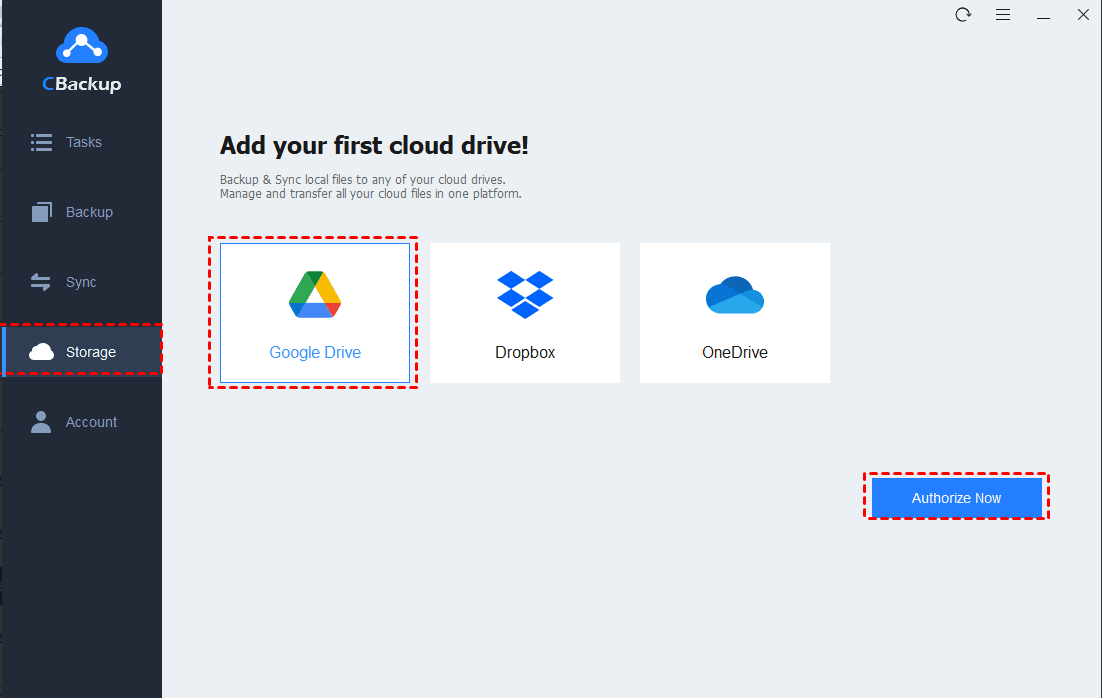
2. Go to the Storage section. Select the cloud drives you need to integrate, then click on Authorize Now. You need to give CBackup the authorization to your cloud and you can add as many multi-cloud accounts as you have.
☛ Note: CBackup is based on the OAuth authorization system, never reading your data. And you can cancel the access of CBackup to your multi-cloud services at any time. So you do not need to worry about your data safety. All your data will be stored in the cloud drive you trust.
3. Locate the Storage tab again, select the + Add Combined Cloud option.
4. Tick the cloud storage accounts from your multi-cloud services to merge into one, and then click on Next > Combine in oder.
5. After the above, you will have a Combined Cloud in your cloud list. You can select the Combined Cloud as a backup destination to enjoy the large cloud storage space then.
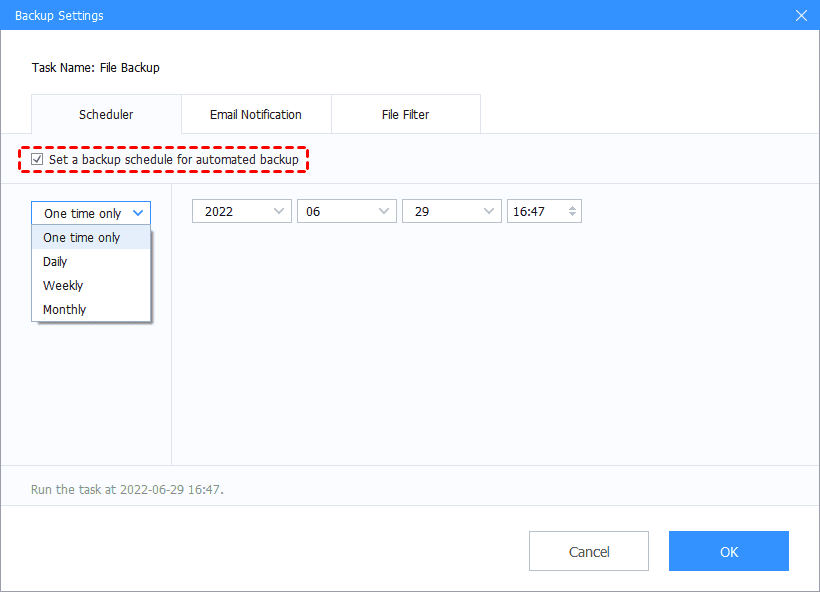
☛ Note: When you use CBackup to set up a backup task, you can use these useful features in the Settings.
Scheduler: With the help of this feature, your backup tasks can perform regularly and automatically with the selected frequency.
Email Notification: You will receive an email to let you know the result of the backup task.
File Filter: It enables you to exclude or include the type of documents to back up.
Tip: How to Get Multi-Cloud Connectivity
In addition to multi-cloud integration, sometimes users need to transfer files between multi-cloud services. For this, CBackup offers a free feature called cloud to cloud sync, which can help you get multi-cloud connectivity quickly. For example, you can sync Dropbox to OneDrive easily with this feature.
To get multi-cloud connectivity, you can follow these simple steps:
1. First, go to the CBackup website.
2. Locate the My Storage tab, press the + button to add your cloud services.
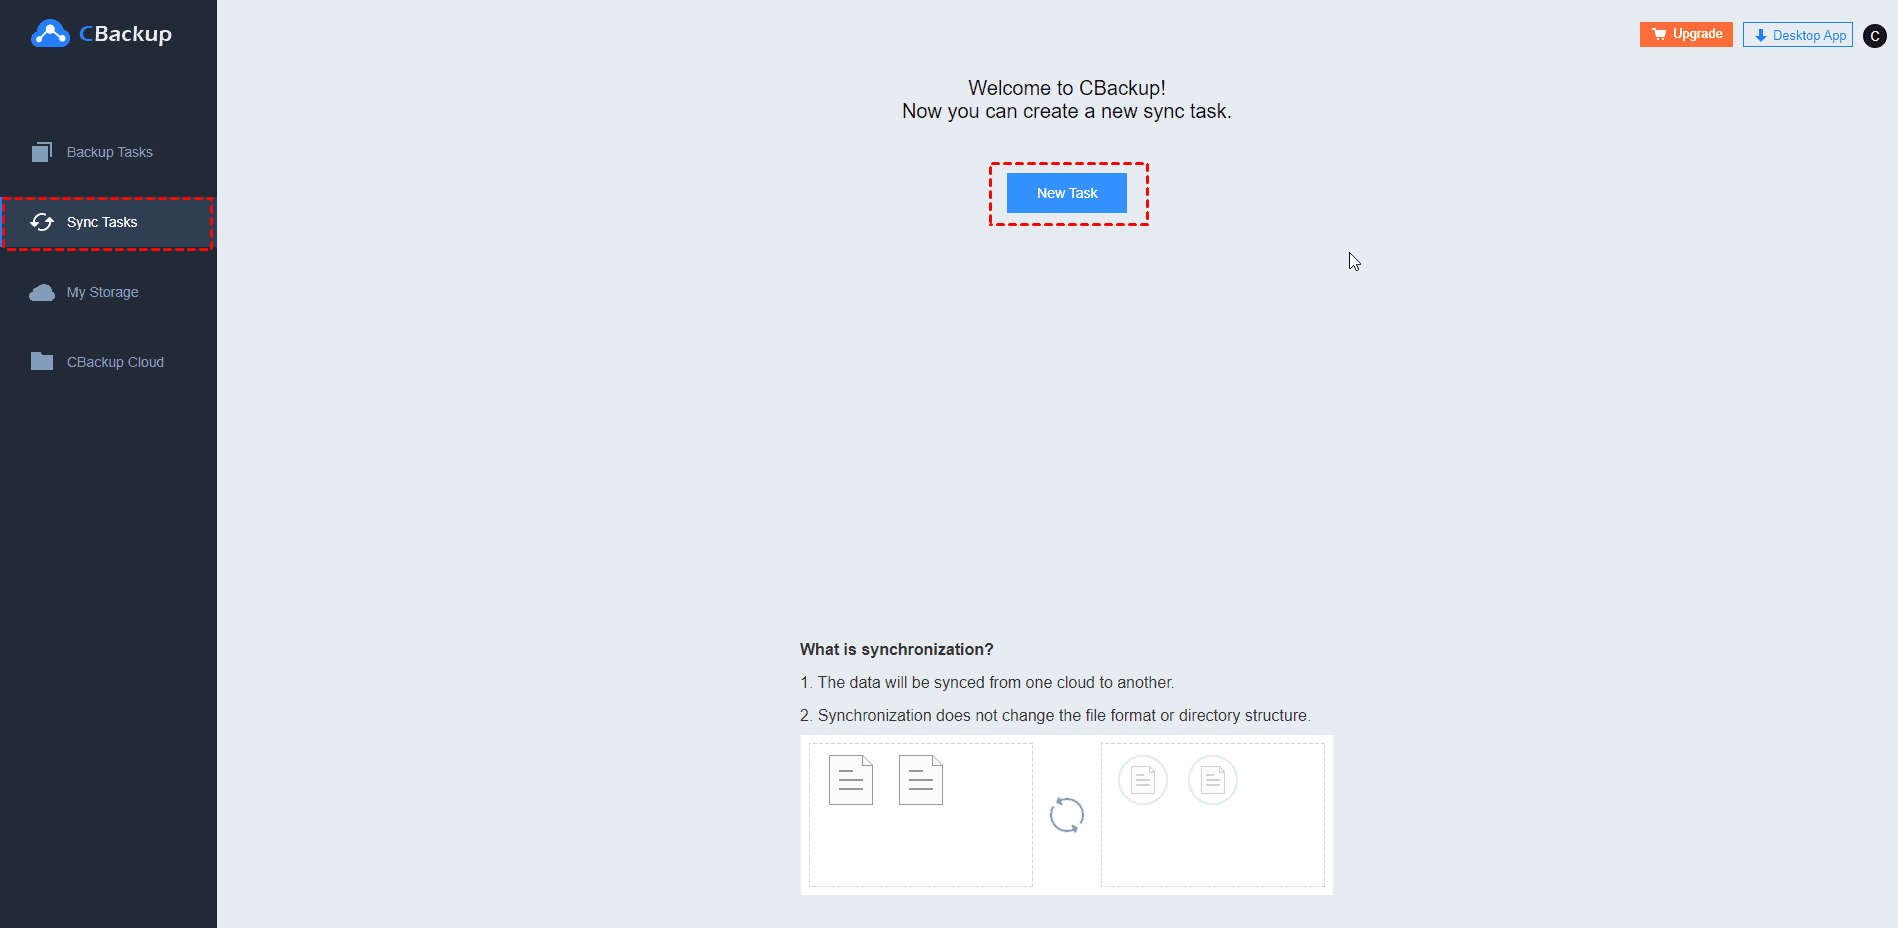
3. Then click on the Sync Tasks option, select the New Task button to create a new cloud to cloud sync task between clouds.
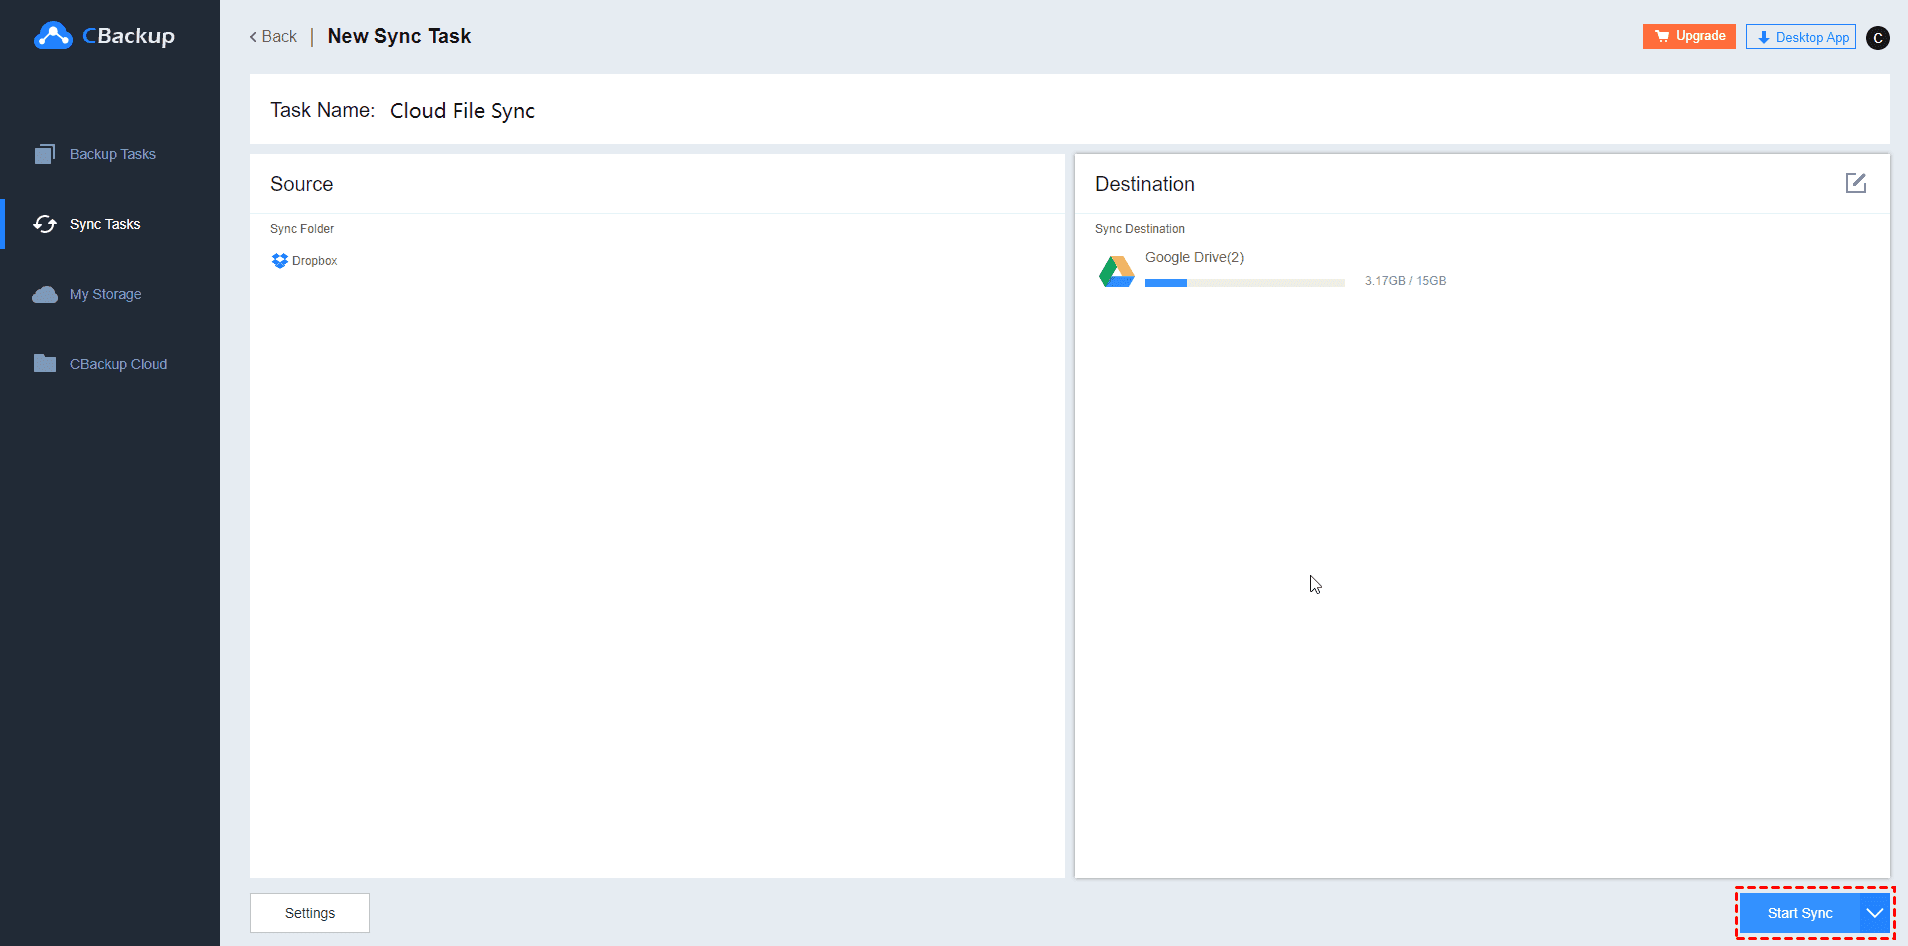
4. Next, press the Add Source button to choose the source of the file, press the Add Destination button to choose the target location of the sync task.
5. After the above, select the Start Sync button to start the multi-cloud connectivity task.
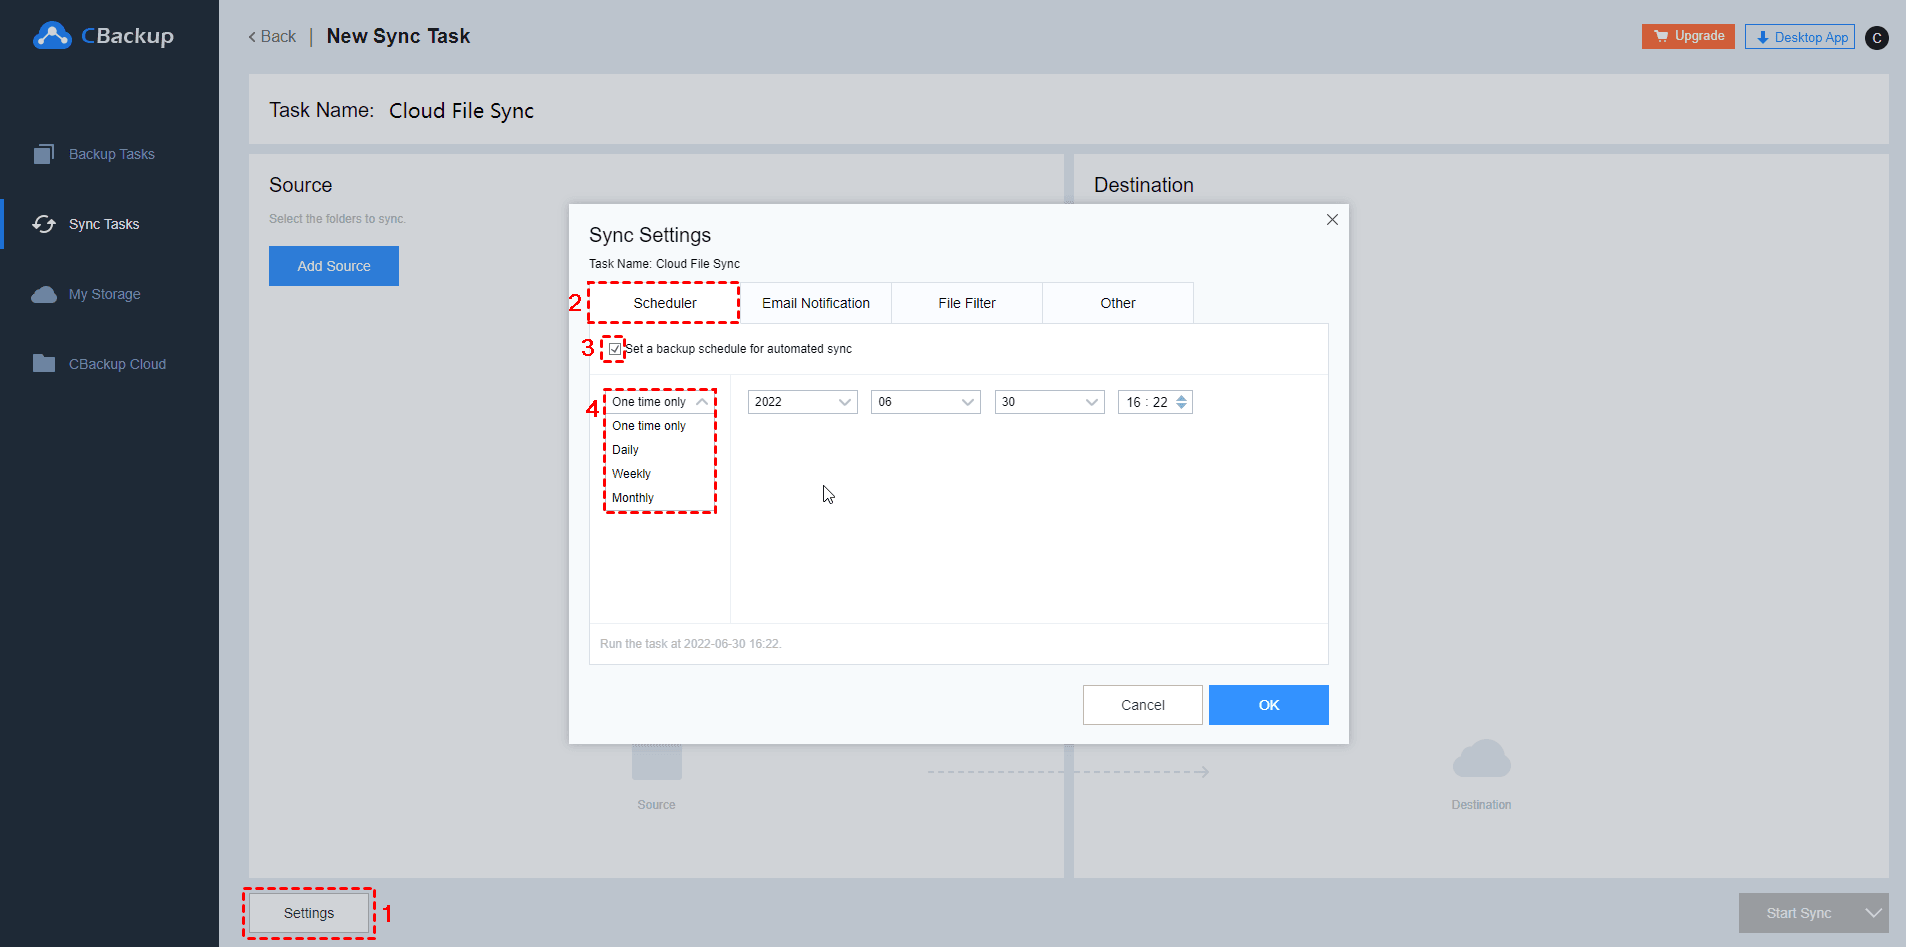
☛ Note: The cloud to cloud sync also can operate automatically with the selected schedule.
Final Thoughts
If you are looking for a multi-cloud integration tool, hope this article will give you a useful guide. It is not hard to find that CBackup is an easy-to-use free software and professional in multi-cloud integration. Why not have a try?
Free Cloud Backup & Sync Service
Transfer files between cloud drives, combine cloud storage to gain free unlimited space
Secure & Free


